Saving Items

Learning Objectives
  • Learn how to create customized access to ISearch to fit the needs of students, teachers, and parents.


You can review your library account as well as do a number of tasks from within ISearch. If you are not already logged in to ISearch, when you choose My Account, you will be challenged for your login credentials. Most users will log in using their Alt ID or Barcode (User ID) as the User ID and their birth month and birth day (MMDD format) as the PIN. If you aren't sure how to log in to My Account or how to teach your patrons how to log in, contact your INFOhio Provider at your ITC for further help. See the following directions on how to log in and manage your account.  

My Account

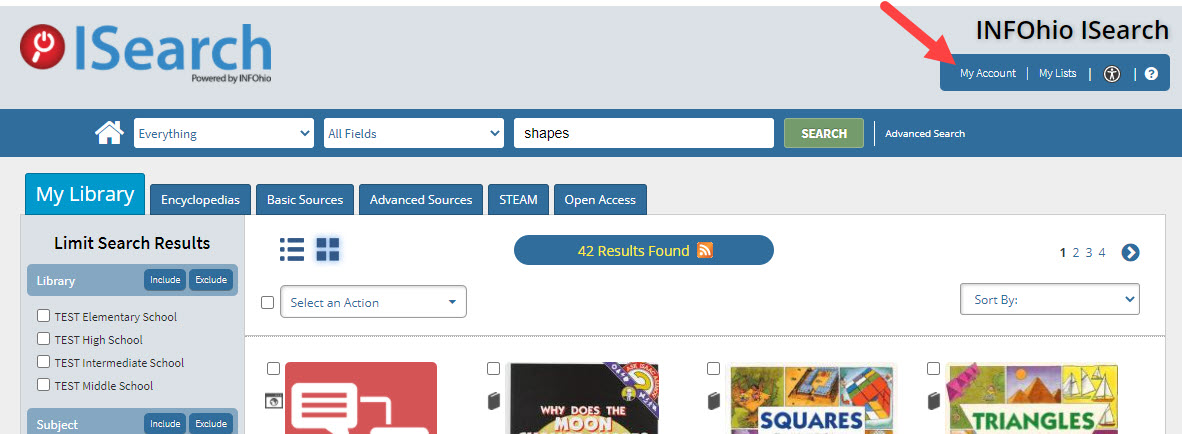
To login to My Account:

  1. Click My Account as indicated above.
  2. Enter your User ID/ALT ID/User Barcode and PIN.
  3. Click Log In.

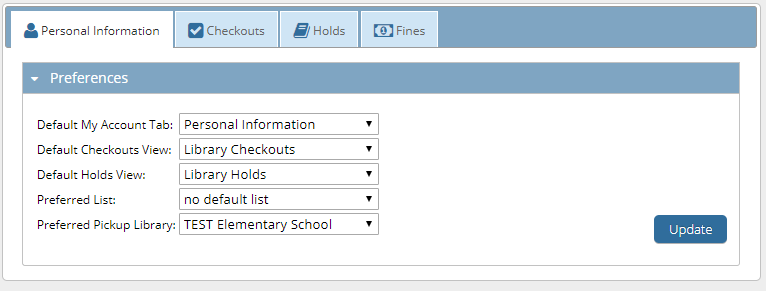
There are four tabs available for use: Personal Information, Checkouts, Holds, and Fines. Depending on how ISearch has been set up, you may have fewer or more options than the screenshots below. Please speak with your INFOhio Provider to make any changes to the policies you have available.

Personal Information

  1. Default My Account Tab: The tab selected will be the first tab you see when entering My Account.
  2. Default Checkouts View: Choose which collection shows first when looking at the Checkouts tab.
  3. Default Holds View: Choose which collection shows first when looking at the Holds tab (if enabled).
  4. Preferred List: Choose which list will be the default when saving items to a list.
  5. Preferred Pickup Library: Choose which library is your preferred pickup library (if enabled).


Checkouts

The Checkouts tab can possibly show up to three categories of checkouts, depending on your setup and whether or not you are part of the eRC collection. For more information about these categories, please contact your INFOhio Provider with questions.
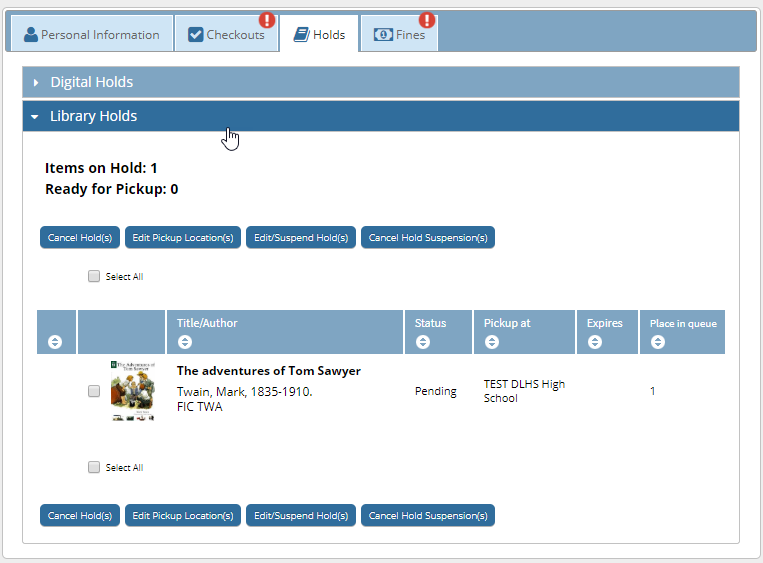
  1. Digital Checkouts: If you are part of an eRC/eBook collection, the items checked out through that program will be listed here.
  2. Library Checkouts: Items checked out through the library's automation system. With Renew, an optional setting, you can renew items according to your library policies.
  3. Checkout History: Optional, will show the items you have checked out and returned.

Holds

The Holds tab will show your Holds activity (if your library supports holds and the option has been turned on). Please see your INFOhio Provider with any changes or questions about placing Holds in ISearch.

There are two possible categories of Holds:

  1. Digital Holds: If you are part of the eRC/eBook collection, you will have access to Digital Holds.
  2. Library Holds: If your library supports holds, you can do a variety of things to manage those holds.
    1. Cancel Hold(s)
    2. Edit Pickup Location(s)
    3. Suspend Holds(s)
    4. Cancel Hold Suspensions(s)

*Options are available ONLY if they have been enabled. Please contact your INFOhio Provider with questions.
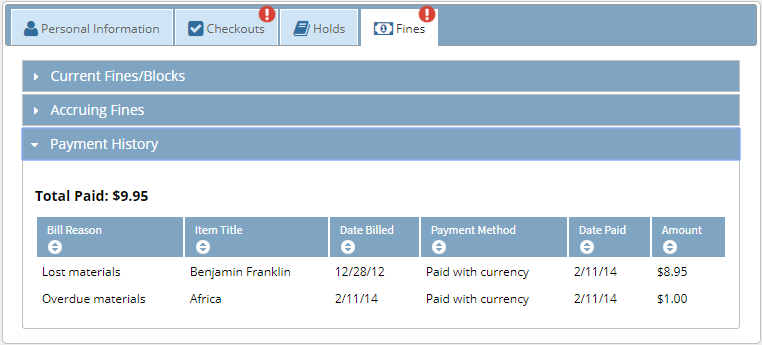
Fines

From the Fines tab, you can review any current bills and payment history. ISearch is not configured for online payment of fines or fees. 

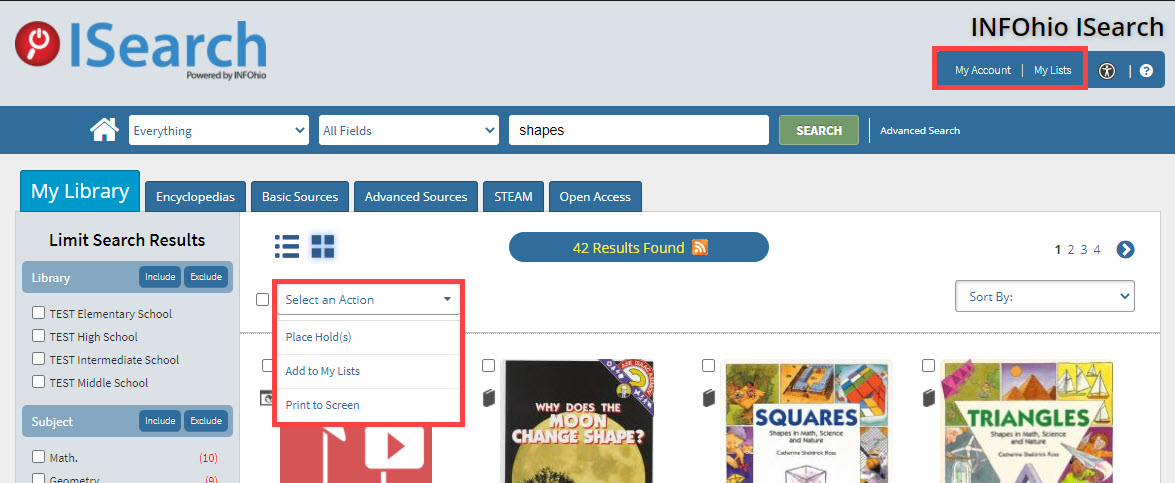
Another feature found within My Account is the ability to create lists. If you are searching for content that you may want to use later, you can save items from multiple resources to a single list using the My Lists features available within your account. To save items to a list you need to login to My Account. Once you've logged in, you can save items from any of the tabs to My List for later reference.

My Lists

In addition to the tasks found in My Account listed above, you can also save lists of items you have curated with the My Lists feature.

To save an item to My Lists:

  1. Login to your account by clicking My Account.
  2. Check the box next to an item or items you would like to add to a list.
  3. Using the Select an Action drop-down, click Add to My Lists.
  4. Items are saved to a temporary list.

If you would like to take the items in the temporary list and create a new list that is more specific to the content you have added, you will want to add a new list and transfer the items.

To create a new list:

  1. Click My Lists.
  2. Either add a new list or save your temporary list.
  3. To add a new list, click the Add List icon (notebook with + sign) and name the list. Click Create. Once you have created the list you can select items to add to the list using the Select An Action drop-down. Choose move to move the item to the new list.
  4. To save your temporary list, click the Select An Action drop-down and click Save Temporary List. Name it and click Save. The items on your temporary list are now saved in your new list.
  5. Your lists are saved in My Account.

Detailed documentation on My Account and My Lists can be found here.

Tip: Make it easier for your students and colleagues to access their My Account features and print individual account info for them for easy access.

  1. Read the Labels for My Account documentation in the Report Favorites section of the Library Services Handbook.
  2. Run the report to output Barcode or Alt ID.
  3. Print on labels and distribute:
    • If your students are required to carry a planner, agenda, or binder, pass out the labels when a class comes to the library and help students affix them properly.
    • Affix labels to index cards or bookmarks and laminate them. Hand them out to students and colleagues.

For more details on saving items from tabs within ISearch other than the My Library tab, as well as saving to a cloud drive or Google Classroom, please see the Saving Items lesson within the ISearch for Teachers course found in the High-Quality Instructional Materials for Each Child Learning Pathway. 

Need Help?
CONTACT SUPPORT
Open ISearch  
ISearch - Advanced Library & Resource Search
Fetch - Library Catalog Search

Fetch is avaiable to INFOhio automated schools. If you are an INFOhio school, please log in with your school username/password using the button at the top-left corner of this page.

For more information about Fetch, please visit the Fetch information page or contact INFOhio support at https://support.infohio.org.