Click Setup from the side menu. Expand the Check Out options by clicking the drop-down menu. See below for more information on the options available. Make changes as needed. Select Apply to save any changes.
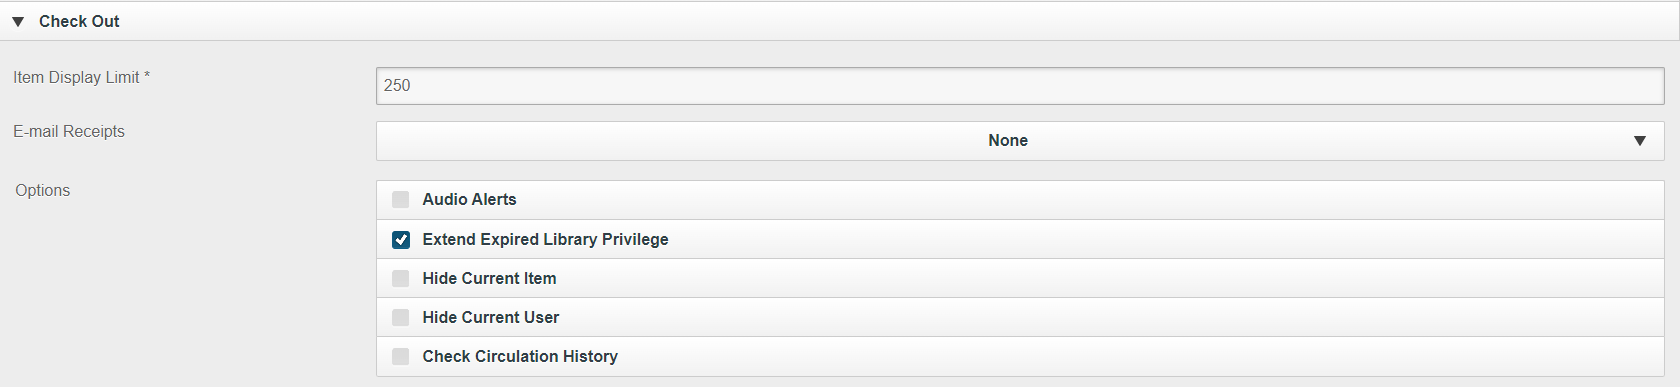
Item Display Limit - Specifies the maximum number of items that can be displayed on the Check Out screen for a patron record. The default value is 250 but performance on the Check Out screen may decrease if you enter a very high number.
E-mail Receipts - Gives options for emailing receipts to patrons. If a patron does not have an email address associated with their user record, no email will be sent. Choose from the following options:

Options - Check the box next to any of the available options to enable those features: Audio Alerts, Extend Expired Library Privilege, Hide Current Item, Hide Current User, and Check Circulation History
To check out an item, click or tap Check Out in the side menu. 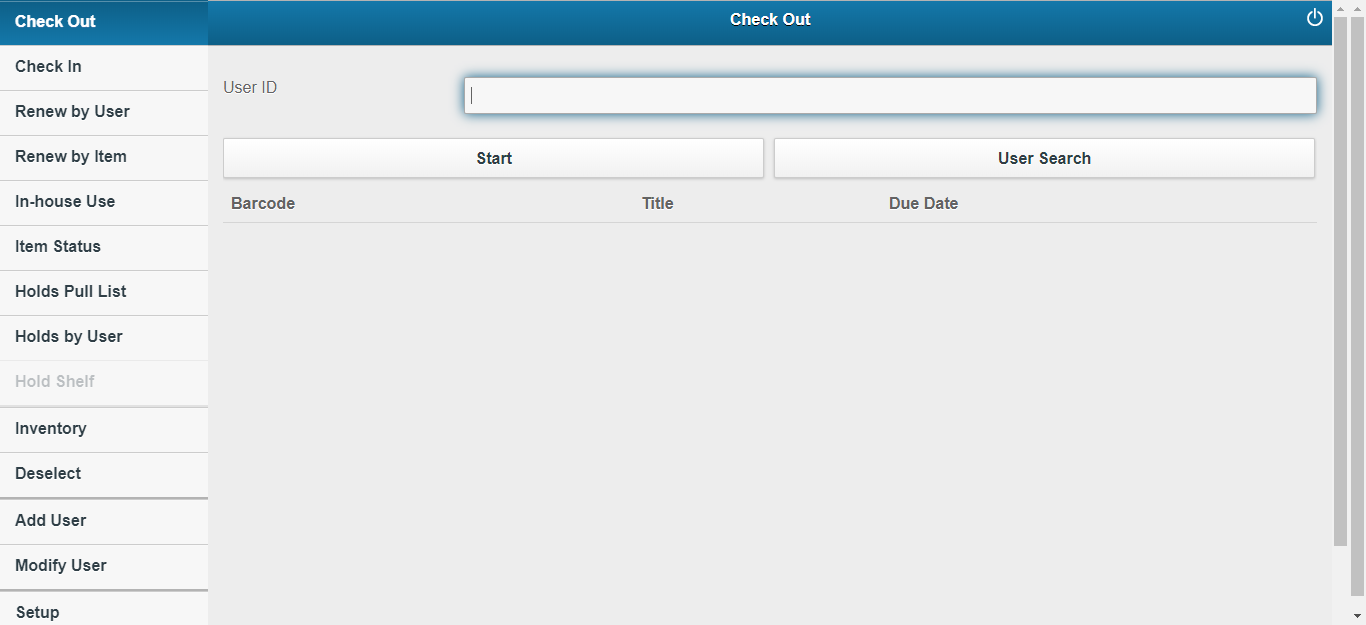
Enter the User ID by either scanning, typing manually, or doing a User Search to locate the user's account. You can also scan or type the user's Student ID (ALT ID) to retrieve their account as well. If you are using the app version, a barcode icon will appear at the end of the User ID field. Tapping it will allow you to scan a barcode. See below for more information about scanning barcodes. 

If entering a barcode manually, hit Enter or tap Start.
Once you have entered the User ID (or Student ID), the user's name, user id, email (if available), and current checkouts will appear on the screen. If, in Setup, you selected that users will receive emails, the email will go to the email address shown. See below for more details about emailing receipts. Notes and/or Alerts will be highlighted in red. 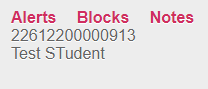 Click on either to show the extended information relating to that option.
To check an item out to the user, scan or enter the item ID. 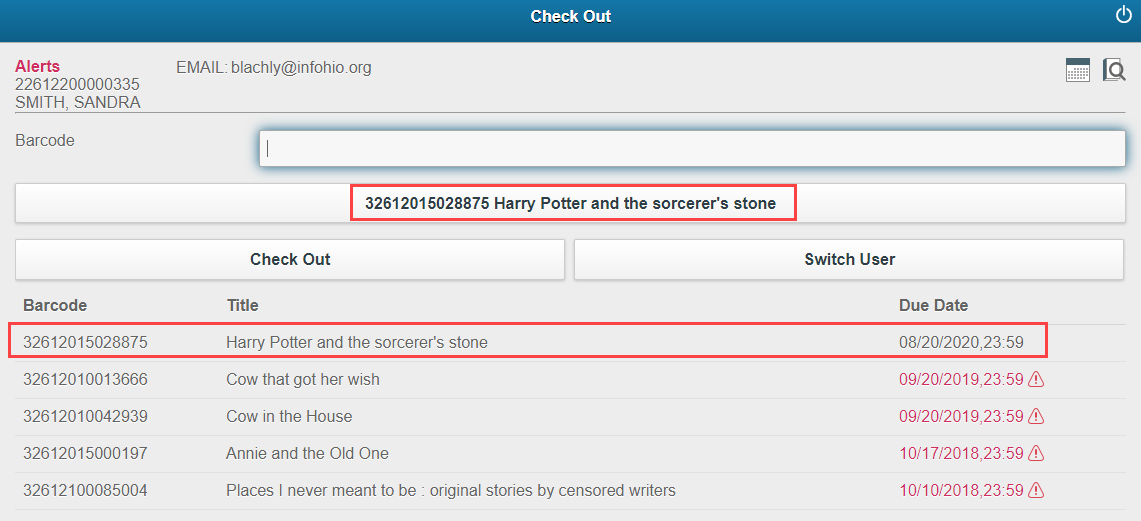 If the item being checked out was the last item handled by MobileStaff, there will be a button with the item ID that can be tapped or clicked to check out that item in one step. If you elected to select "Hide Current Item" in Setup, this information will not appear. Item Search is also available if you don't have the barcode available.
Along with Item Search is the ability to set a specific due date before checking out an item. 
See below for more information on setting a specific due date.
If entering a barcode manually, tap the Check Out button to check the item out to the user. Switch User allows you to switch to another user.
Once an item is checked out, the Item ID, Title, and Due Date are shown.
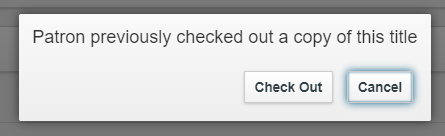
If the item you entered is already checked out to the user, MobileStaff will display a pop-up window with the following message: "Item already checked out to user."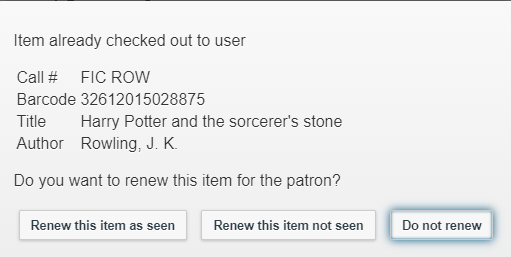
You can choose to renew the item as seen or unseen. You can also choose "Do not renew" to forego allowing the item to be renewed. More details about the renewal process are in the next lesson, Renewing Items.
Continue to check out items as needed or move to another user.
 If no email address is available or the correct email address is not listed, please contact your INFOhio Provider for further help. The email address will be bold when an email option is enabled.
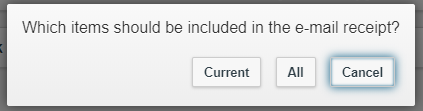
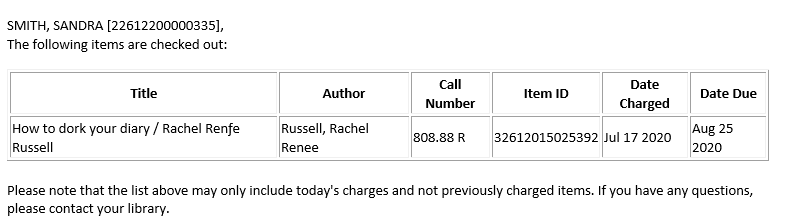
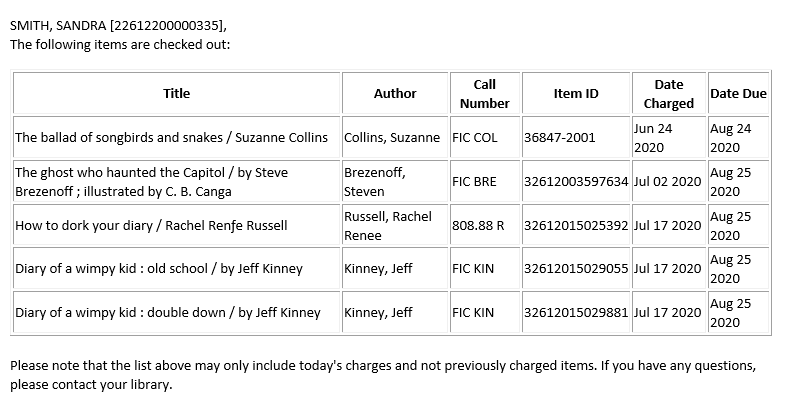
The user email will then look something like this, depending on which selection you made in Setup:
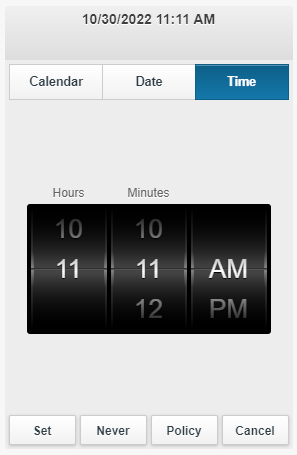
In Check Out, Renew by User, and Renew by Item, you can optionally set a different due date. Before scanning or manually adding an item's barcode, click the Modify Due Date icon in the top right of the page.
Choose from various options:
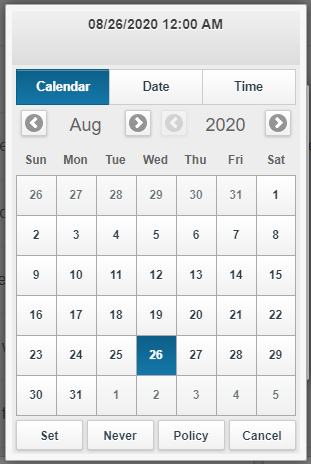

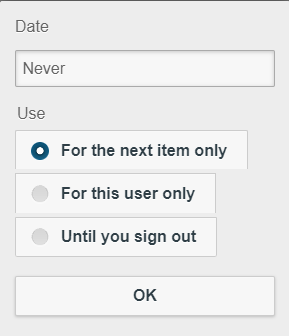
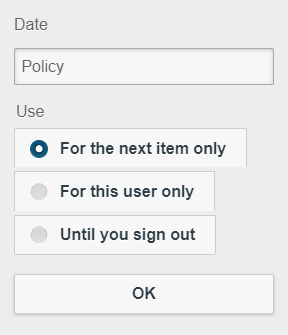
The calendar icon will display a date to indicate that a specific due date is in effect. 
To scan a barcode with a USB scanner.
To scan a barcode with a Bluetooth scanner:
To scan a barcode with the device's (phone, iPad, etc...) camera:

Fetch is avaiable to INFOhio automated schools. If you are an INFOhio school, please log in with your school username/password using the button at the top-left corner of this page.
For more information about Fetch, please visit the Fetch information page or contact INFOhio support at https://support.infohio.org.
